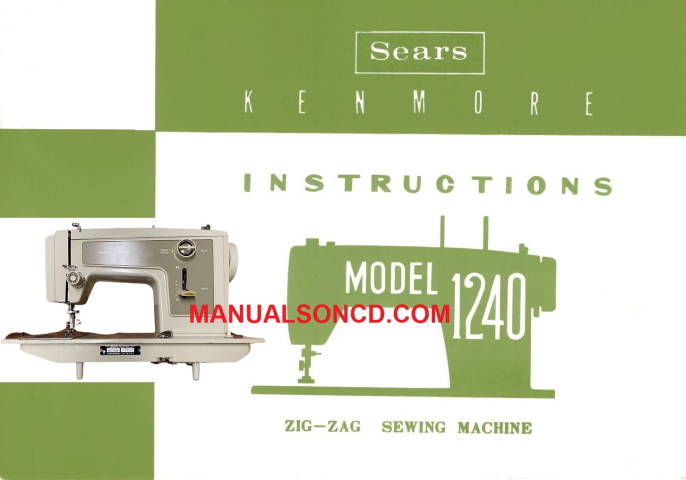
Kenmore 148.12400 Sewing Machine Instruction Manual
$5.95
This is a download manual. Please check your email after purchasing.
Description
Kenmore 148.12400 Sewing Machine Instruction Manual.
Includes:
Threading the machine.
Bobbin winding.
Adjusting thread tension.
Changing needle.
Removing and replacing the bobbin case.
Stitch length and width control.
Stitch pattern selector.
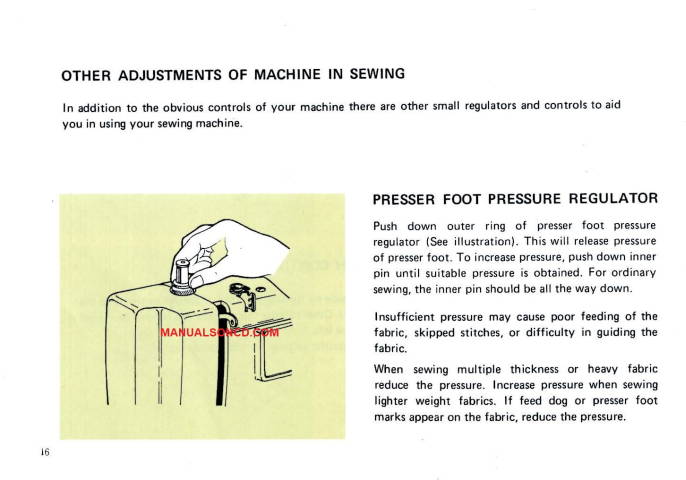
Adjust presser foot pressure.
Feed dog control.
Zipper insertion.
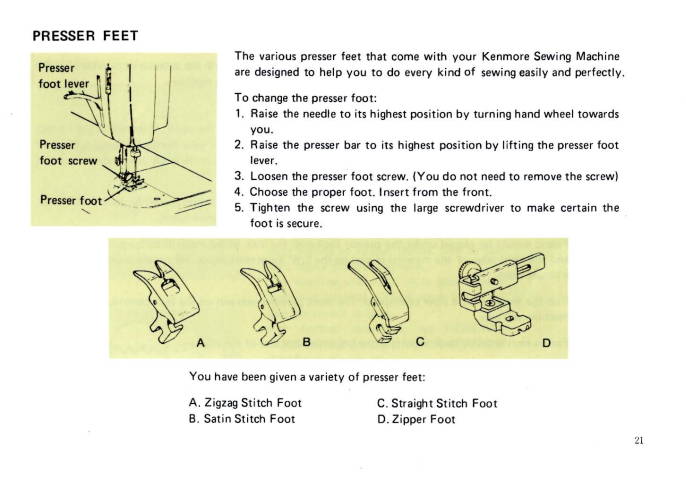
Using feet and attachments.
Cleaning the feed dogs and shuttle.
Replacing the light bulb.
Oiling underside.
Cleaning.
Much more!
PDF download
43 page instruction – owners manual.
Kenmore models:
1240
148.12400
Kenmore 148.12400 Sewing Machine Instruction Manual
You can find many more Kenmore manuals in our shop here.
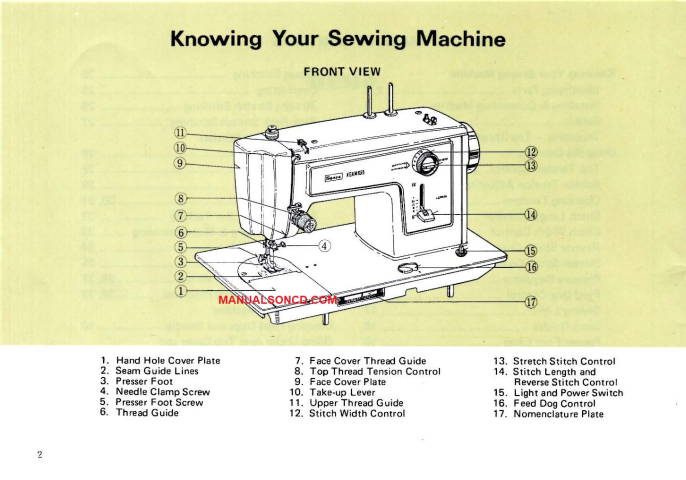
Top Tension Control
Probably the most important control on your machine is this one that regulates your top thread tension. It consists of discs between which the thread passes. The pressure on these discs is regulated by turning the dial on the front of the control. The higher the number, the tighter the tension.
There are many reasons for having to reset your tension. The best tension for one fabric may not be correct for another. The required tension depends upon the stiffness of the fabric, the thickness of the fabric, the number of layers of fabric being sewn, as well as the type of stitch you are making.
It is best to test the stitching on a scrap of the fabric you are using before starting to make a garment.
To check the thread tension balance
Be sure to use mercerized thread of the same size on the top and on the bobbin, and a sharp, correctly sized needle for the fabric you are sewing. Begin with a full bobbin. Set the stitch length for about 12 stitches per inch.
Fold a 6″ square of fabric in half diagonally, forming a triangle.
Make a line of stitching 1/2″ in from the fold.
a. If the seam is puckered – both tensions are too tight.
b. When the bottom thread lays on the fabric – tighten the upper thread tension, and repeat the test. See Fig. 3, Page 11.
c. If the top thread lays on the fabric – loosen the upper thread tension, and repeat the test. See Fig. 2, Page 11.
Grasp the stitching and pull with a snap to make the thread break.
a. If both threads break – tensions are balanced.
b. When neither thread breaks – both tensions are too loose.
c. If the upper thread breaks – loosen top tension.
d. If the lower thread breaks – tighten top tension.
Both threads do not have to break at the same place, but they should break on the same snap.
It is necessary to reduce the upper thread tension somewhat when zigzag stitching. The wider the stitch, the less tension that is needed. This is particularly important when making designs. It is not desirable to have any of the bottom threads visible on the right side of the fabric when satin stitching.


Reviews
There are no reviews yet