
Singer 421 Slant-O-Matic Sewing Machine Instruction Manual
$4.99
This is a download manual. Please check your email after purchasing.
Description
Singer 421 Slant-O-Matic Sewing Machine Instruction Manual.
Includes:
Threading machine.
Bobbin winding.
Thread tension adjustment.
Needle positions.
Reverse stitching.
Two needles.
Special discs.
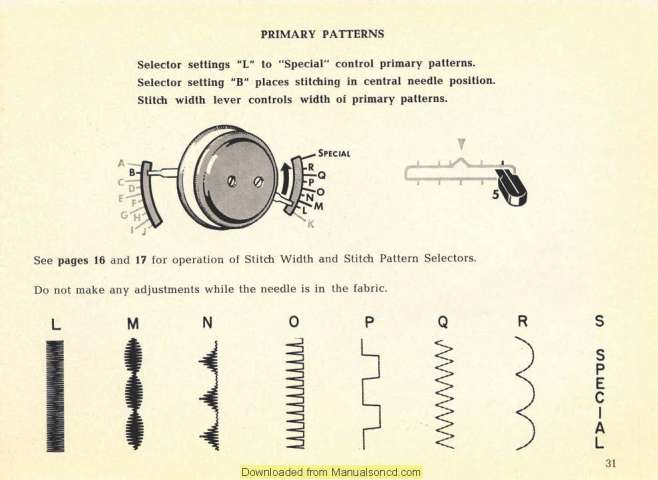
Stitch patterns.
Zipper insertion.
Seam guide.
Button sewing.
Zigzag stitching.
Thread shank.
Stitch length regulator.
Light bulb replacement.
Oiling.
Cleaning.
Much more!
100 page complete instruction/Owners manual.
Singer 421 Slant-O-Matic Sewing Machine Instruction Manual
Needles and thread
This machine uses needles 2020 – 15 x 1
Sizes 9, 11, 14, 16 and 18.
Four perfect stitching, select correct needle and thread to correspond with fabric.
Be sure to use similar threads for both needle and bobbin.
Needle insertion
Raise the needle bar to its highest point by turning the hand wheel toward you.
Loosen the needle clamp screw.
Insert needle upward into clap as far as it will go, with the flat side of the needle to the back and the long groove toward you.
Tighten needle clamp screw.
Upper tension – straight stitching
Needle thread tension too tight – correct by setting dial to lower number.
Needle tension thread needle tension too loose – correct my setting dial to higher number.
A perfectly locked stitch results with the upper and lower tensions balance so that needle and bobbin threads are drawn equally into the fabric.
Lower bobbin thread tension – straight stitching
Bobbin thread tension too tight – correct by turning the screw counterclockwise.
Bobbin thread tension too loose – correct by turning the screw clockwise.
A perfectly locked stitch results with the upper and lower tensions balance so that needle and bobbin thread are drawn to the center of the fabric piece.
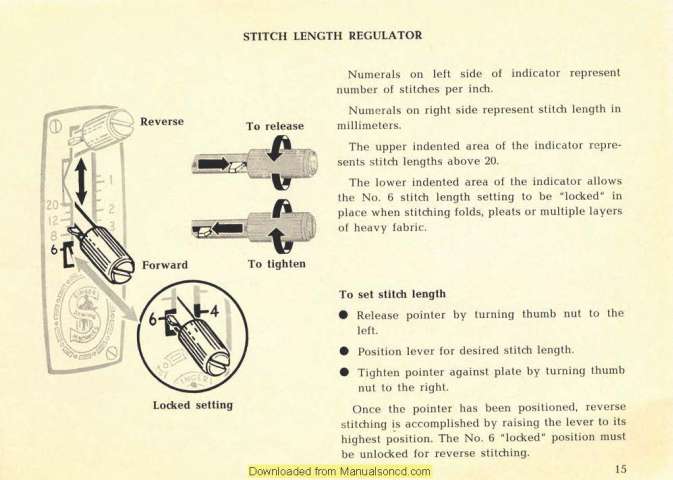
Stitch length regulator
Numerals on the left side of indicator represent numbers of stitches per inch.
Numerals on right side represent stitch length in millimeters.
Upper indented area of the indicator represent stitch lengths above 20.
Lower indented area of the indicator allows the number 6 stitch length settings to be locked in place when stitching folds, pleats or multiple layers of heavy fabric.
To set Stitch length
Released pointer by turning thumb nut to the left.
Position lever for desired stitch length.
Tighten pointer against plate by turning thumb nut to the right.
Once the pointer has been positioned, reverse stitching is accomplished by raising the lever to its highest position.
The number 6 “locked” position must be unlocked for reverse stitching.
We carry more Singer instruction/owner manuals here.
1 review for Singer 421 Slant-O-Matic Sewing Machine Instruction Manual
1-1 of 1 review
Add a review
Currently, we are not accepting new reviews
Exactly what we were searching for!