
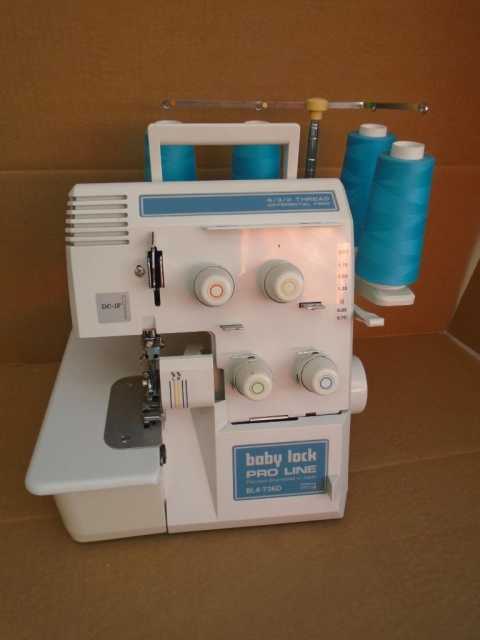
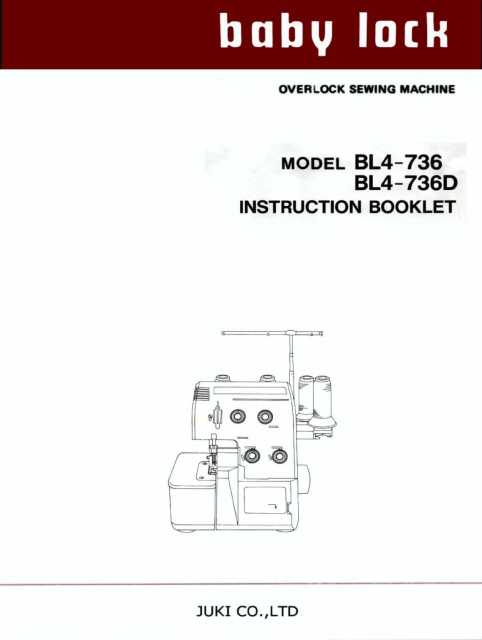

Baby Lock BL4-736(DF) Sewing Machine Instruction/Service Manual
$6.99
This is a download manual. Please check your email after purchasing.
Description
Baby Lock BL4-736(DF) Sewing Machine Instruction/Service Manual.
Includes:
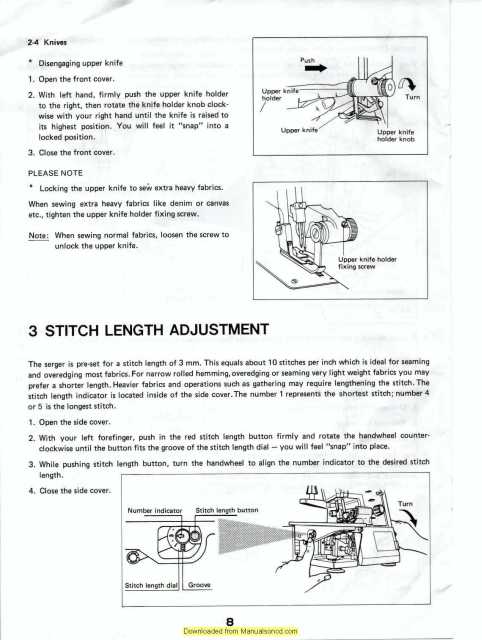
Stitch length adjustment.
To convert from two-thread to three-thread or four-thread.
Presser foot adjustment.
Replacing knives.
Differential feed adjustment.
Narrow rolled edging.
Troubleshooting.
Changing light bulb.
Cleaning.
Service adjusters manual includes:
Needle and presser foot height.
Lower looper fixing position.
Adjusting gauge for two-needle, four-thread overlocker.
Front needle guard.
Distance between lower and upper looper.
Feed dog height and timing.
Much more!
22 page instruction manual.
Also includes a 13 page service (Basic adjusters manual) with diagrams for the following models:
BL4-736, BL4-736, BL4-736DF, BL4-736DF
Threading method I – Tying on
The fastest and easiest way to thread your serger is to cut off the unwanted thread and tie it’s end to the beginning of the new thread, as follows:
1. Clip the existing thread just above it’s cone/ spool.
2. Change threads and make a square knot to tie each old thread to its corresponding new thread.
3. Clip the needle threads directly in front of the eye of the needle. It is not advisable to pull the not through the eye. This may bend or break the needle.
4. Separate the thread chain, discarding needle thread tail and gently pull the looper threads individually until each knot passes completely through the machine. Hint: As you pull each thread with your left hand, use your right hand to pull the tension disc rings slightly forward making it easier for the knot to pass through.
5. Pull the needle threads through in the same manner, and use the tweezers to re-thread the needles.
6. Place all threads under and to the left of the presser foot lower presser foot and sew a few stitches to start the chain.
Threading method II – Manual
If the thread breaks or is allowed to run out, it will be necessary to re-thread manually. A threading diagram is conveniently located on the back side of the front cover of the machine. It is important that manual threading be done in the following sequence;
1. Place the first thread on the third spindle of the thread holder. Beginning with its corresponding “eye” on the telescopic thread guide, thread all green coded thread guides, including the tension disc, and end with the upper looper.
2. Place the next thread on the far right spindle and thread in the same following the blue color coded path and end with a lower looper.
3. Next thread on the second yellow spindle and follow the yellow color coded path ending with the right needle. Thread the eye of the needle, front-to-back.
4. Place thread on the far left orange spindle and follow the orange color coded path, ending with the left needle. Thread the eye of the needle front to back.
5. Place all threads under and to the left of the presser foot and make a few stitches to begin the chain.
Important; If the looper thread breaks or runs out, while the other threads remain intact, it is necessary to follow this re-threading sequence;
1. Unthread the eyes of the needle.
2. Re-thread the looper.
3. Re-thread needle eyes.
If you forget to unthread/re-thread the needle eye, thread will be wrapped around the lower looper out of sequence and, when you begin to sew, the looper thread will break. The needles must always be threaded last.
Baby Lock BL4-736(DF) Sewing Machine Instruction/Service Manual
It was easy to download and print. The price was better than other sites. I’use them again when I need a manual.
just what I needed